So you have a Vinli.
Maybe you haven't opened the box yet. Maybe you've plugged it into your OBDII port, driven around, and boasted to your friends about your "A" drive score.
It's been awesome, but you want more. You want to get under the hood of this little black beauty. Perhaps you just want to hack something silly for yourself (like pumping your trips into a google spreadsheet or texting your spouse whenever you roll up to the kiddo's school). Maybe you already have a killer app and want to add a feature, or maybe you're starting a totally new project.
Whatever the motivation, this post is for anyone who is ready to take a look under the hood (pun intended) of their Vinli device, to get a feel for the power and possibilities of the platform.
Prerequisite - In this post, we'll assume that you have a real Vinli device. If you don't have one, you'll want to get setup up on Virtual Vinli before going any further.
Step 1: Create a MyVinli Account
MyVinli is the companion app that every Vinli user has to managed their devices, WiFi settings, and 3rd party app access. As a Vinli developer, it's important to setup a MyVinli account so that you can authorize your applications, and get a feel for what it's like to work with your app as a Vinli user.
You can create a MyVinli account via:
You'll want to have your device in hand when you sign up, as you'll be asked for the 7 digit "Case ID" on the back of your device. This ID is used to link the device with your MyVinli account.
Link your device with your MyVinli account. You need to do this in order to access the device via OAuth2.
Step 2: Create a Vinli Developer Account
The Vinli Developer Portal is loaded with tools you need to build and manage your Vinli app/integration. It's also a great place to explore the data that is generated from a specific device.
Step 3: Create an App and a Client
Navigate to "Manage Apps" from the top right corner of the screen, and use the "New App" button to create your app.
Name your app, and give it a description. You can name/describe it whatever you want! (you can always come back later and change it too)
Once your app is saved, click on the "Clients" tab in the left side menu.
- Set the Client Type to "Web"
- Give your Client a name "MyClient" works just fine.
- I f you're not sure what to enter for the Redirect URI, just put: "https://li.my.vin"
Step 4: Authorize your App
As a Vinli user, you need to give your App permission to access your info. Do this by entering the following URL into your browser, make sure to swap out the placeholders with the Id and Redirect URI for your client.
https://auth.vin.li/oauth/authorization/new?client_id={clientId}&redirect_uri={redirectUri}&response_type=token
Once you've replaced the placeholders, your URL should look something like this:
https://auth.vin.li/oauth/authorization/new?client_id=7b60569r-2cfe-453b-967b-59214337gk4a&redirect_uri=https://li.my.vin&response_type=token
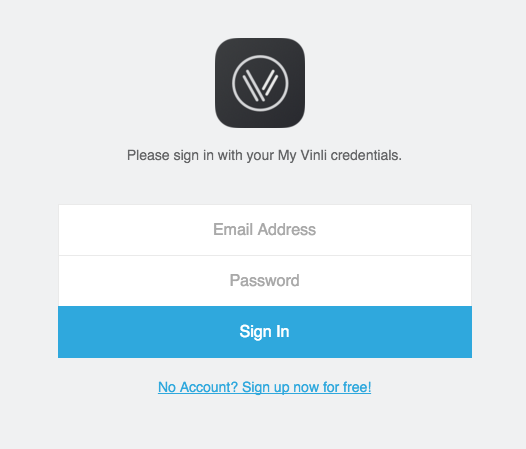
Going to that URL should generate a Vinli Login screen. Sign in with your MyVinli credentials.
Step 5: Explore!
Now go back to the dev portal. Within your App, you'll find a "Devices" tab in the left menu. This tab will reveal all of the Vinli devices that your app has access to. Find your device (it's probably the only one!) and drill in to examine the corresponding data in detail.

To learn more about how to unearth detailed data from devices in the dev portal, check out our blog series, How to Dev Portal.